The fall issue of Domino is on news stands now and my latest story is right after cover girl Mindy Kaling's (adorable!) office feature.

I was SO excited to get to share my transformation of this old tiger oak secretary. Remember this old thing?
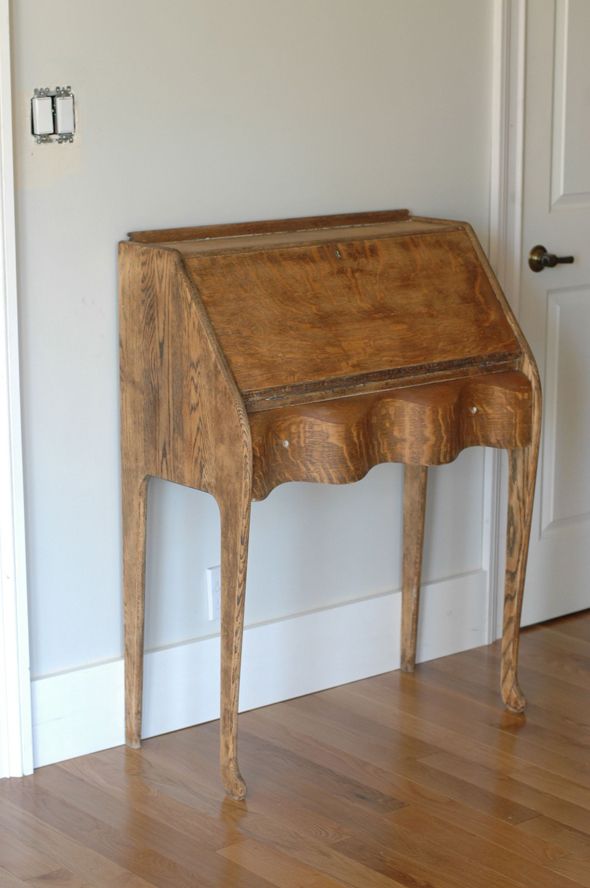
I had been debating whether or not to change the finish for a while, but after seeing this beautiful cerused side table on 1st Dibs, I knew I could achieve a similar finish with a little research and some elbow grease.

I read about a million different articles about cerusing and liming oak furniture. It turns out that people have been doing basically the same steps for hundreds and hundreds of years! It's not too hard to do and requires absolutely zero artistic ability. You'll just need a piece of oak furniture - it has to be oak. And the more prominent the grain, the better.
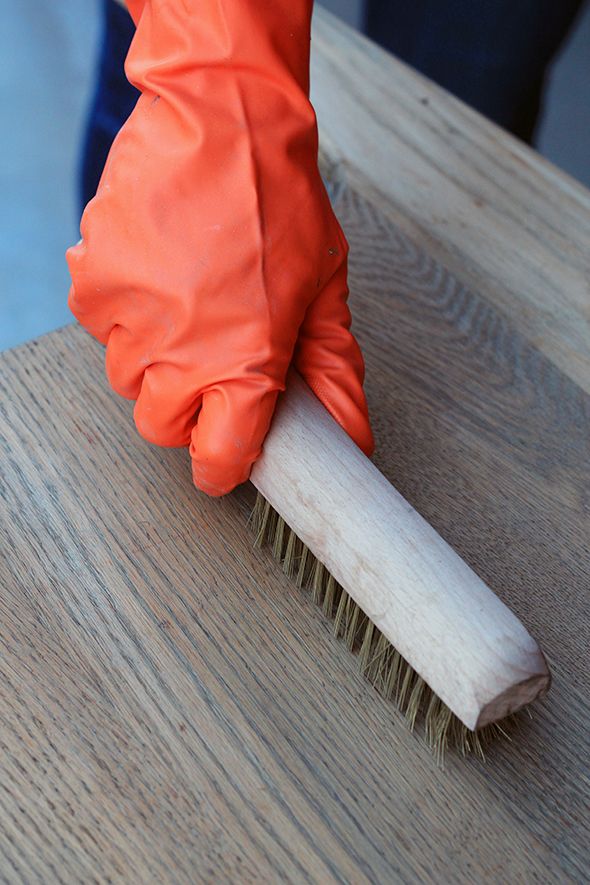
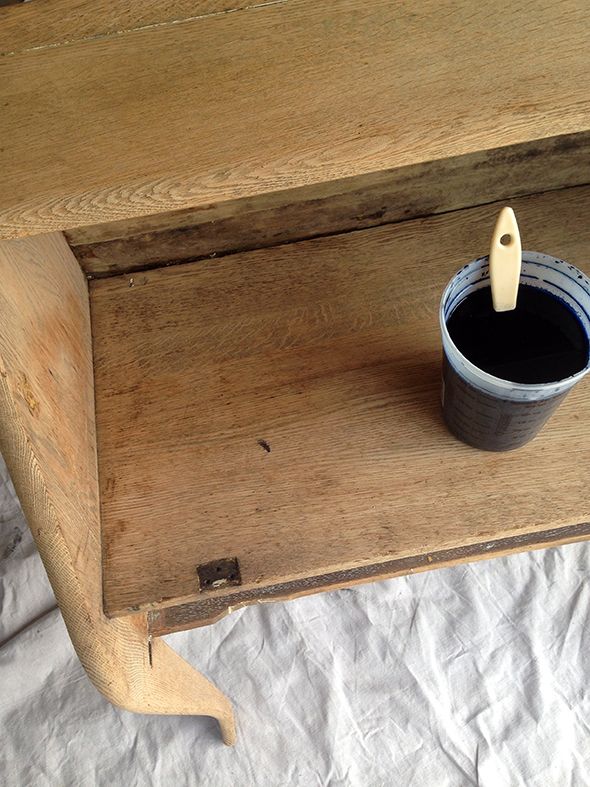
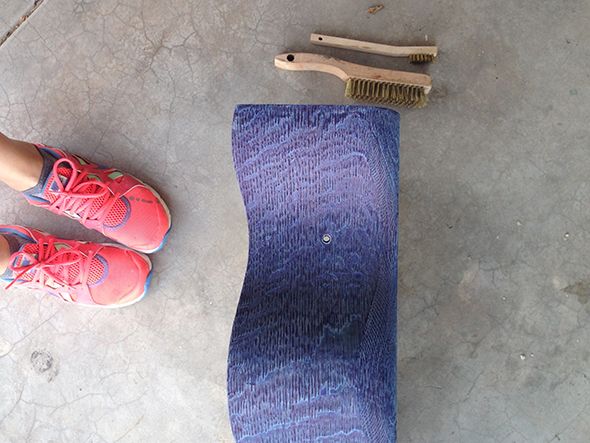
The first step is to strip the wood of any stains or varnish. I used a gel stripper and a brass-bristled brush to gently scrub the wood in the direction of the grain. See how the soft brass bristles pull out the little bits of old dark stain from the grain?
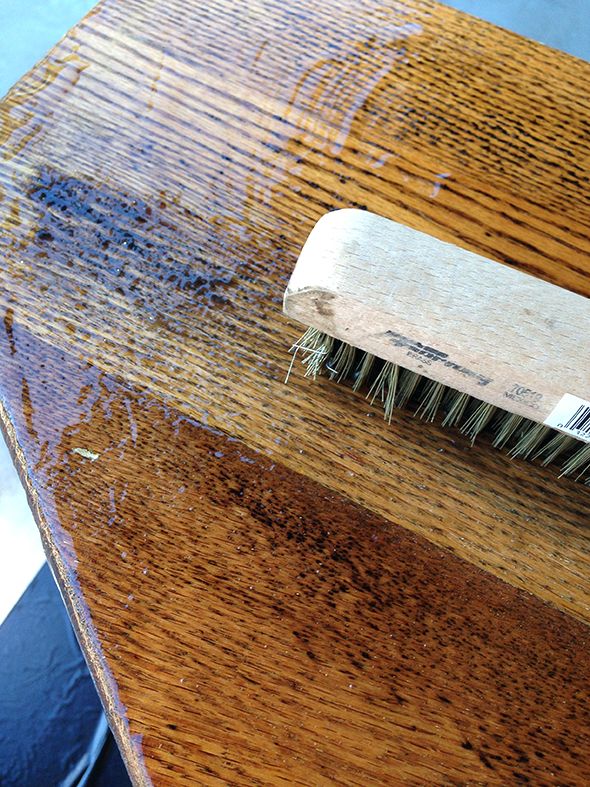
If you've done it right, the grain marks will be open and clean and ready to fill with wax.

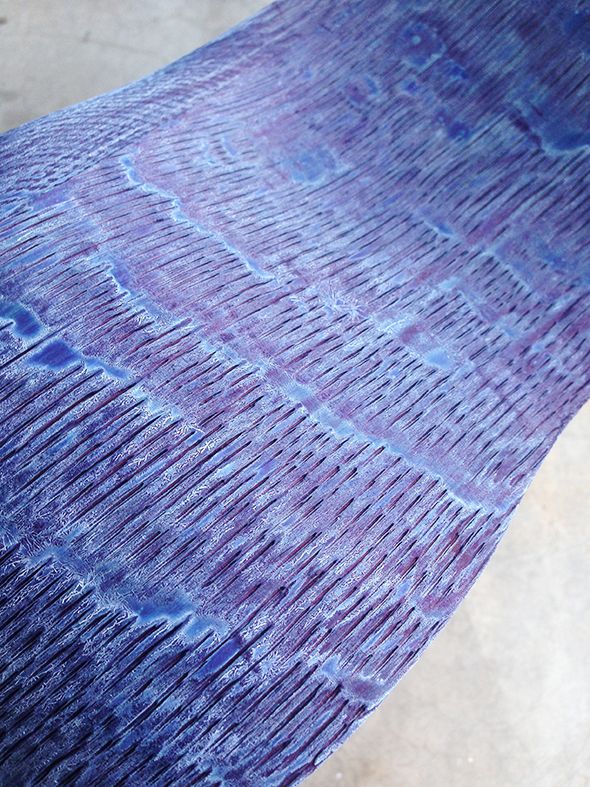
If you want the wood to be a natural finish, you can go ahead and skip this next step, but if you want the wood stained at all, you'll need to use an aniline dye in lieu of a traditional stain that you can get at the hardware store. Dye will beautifully stain the wood without filling any of the grain. You can buy almost any color of dye online. I used the indigo shade for this project.
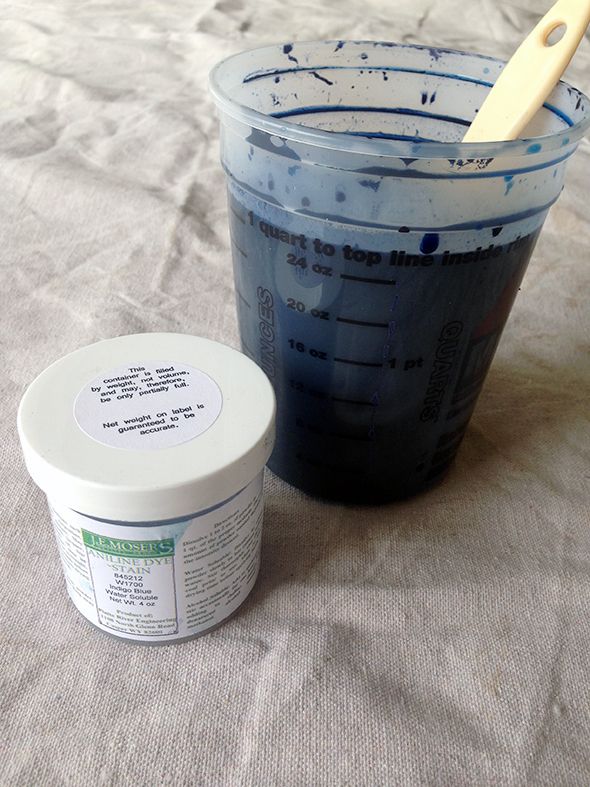
I just followed the instructions on the dye container and mixed a few teaspoons of the powder with some denatured alcohol before brushing it on the secretary.
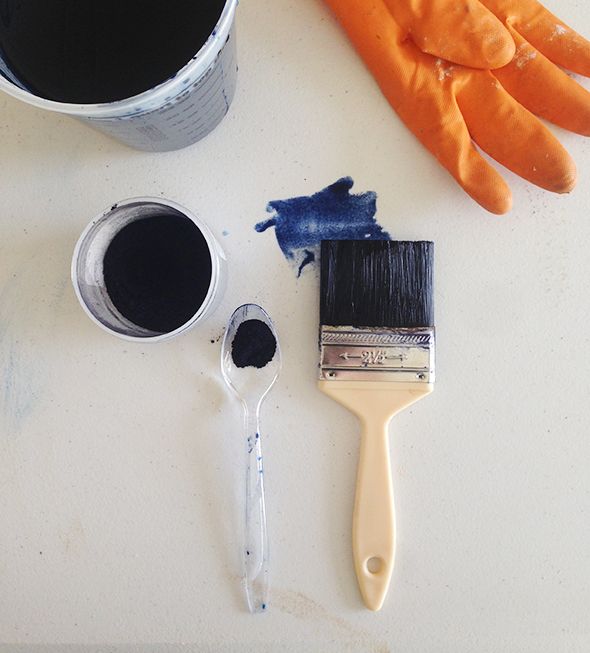
It only takes a coat or two of the dye mixture to get a nice, deep color.
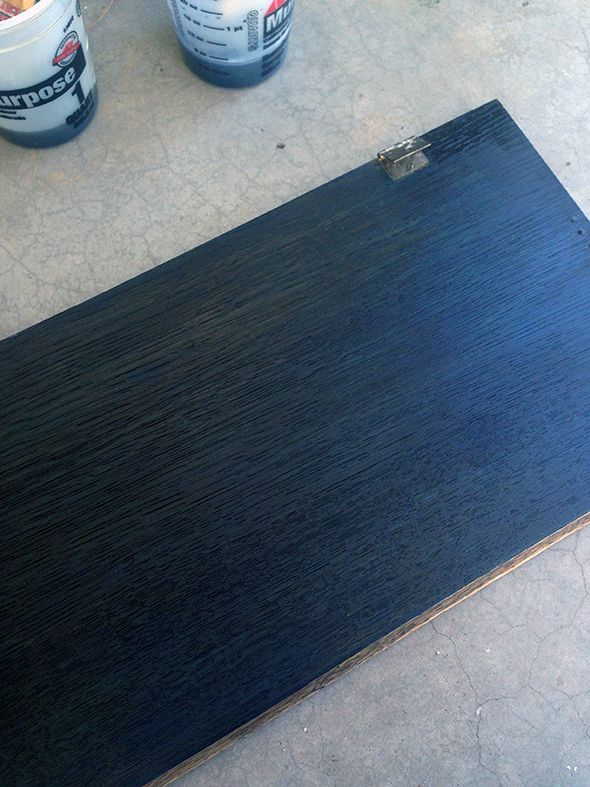
As the stain starts to dry on the wood, it gets lighter and sort of chalky. But the color deepens again when you seal it. I don't have a photo of this step but it's important to seal it with shellac before adding the liming wax. I like Zinsser's shellac because it dries quickly and isn't too thick.
After the shellac dries, the dyed wood will be a dark navy indigo color, and you'll be ready for liming wax. This wax is my favorite.
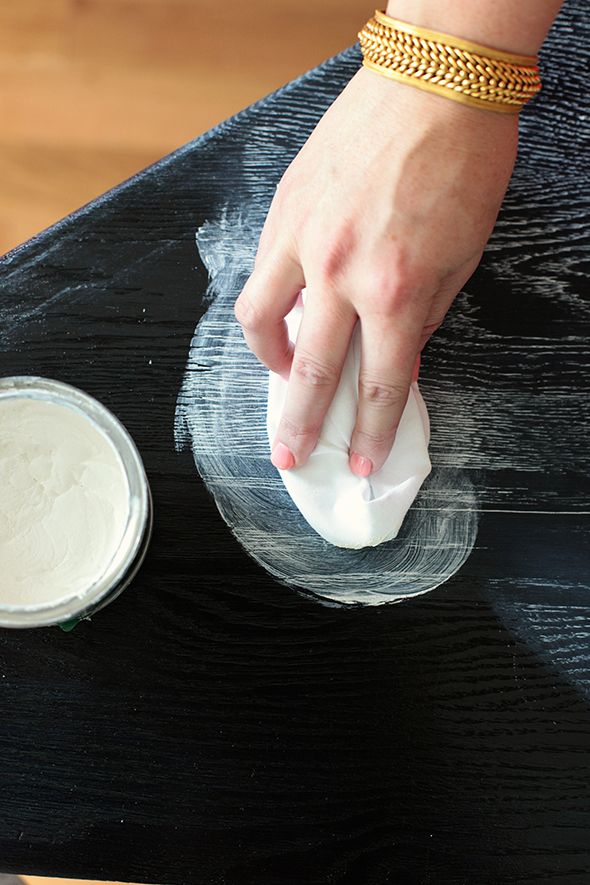
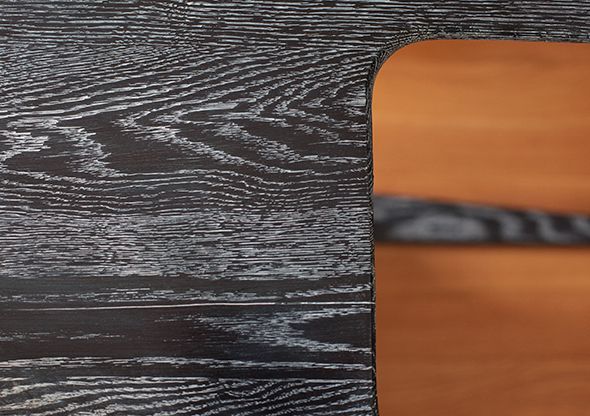
The actual liming step is super easy - you just wipe the wax on with a soft cloth and then buff off the extra that's sitting on top. You only want the white liming wax to be in the grain and none on top.
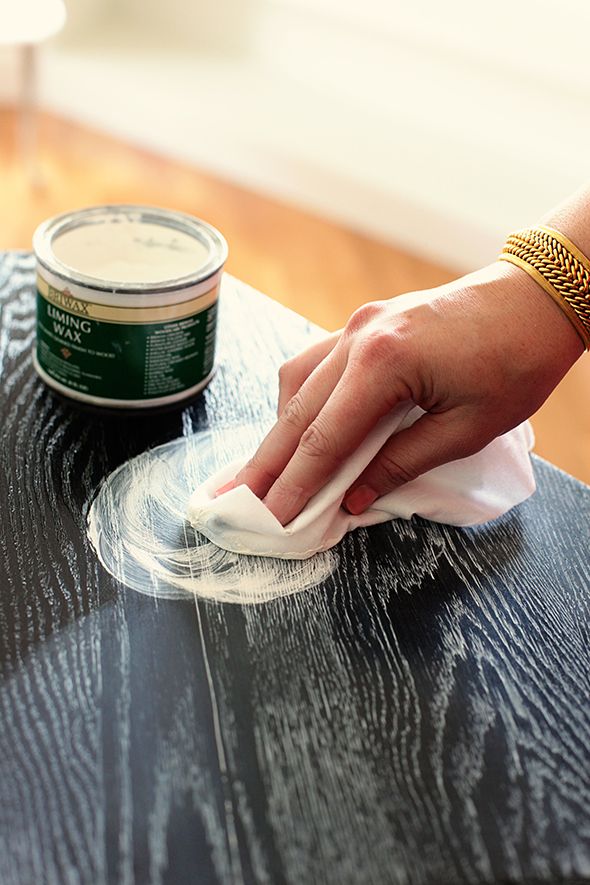
This is why it's important to shellac the wood before using the cerusing wax. The wax won't want to stay on the surface of the sealed wood as much, but it will be happy to hang out in the grain. Check out that beautiful pattern!
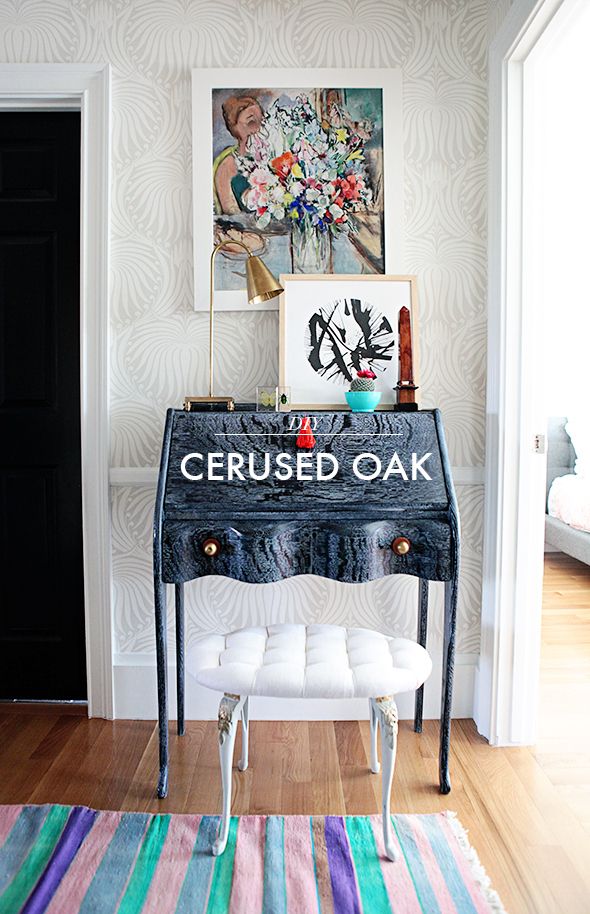
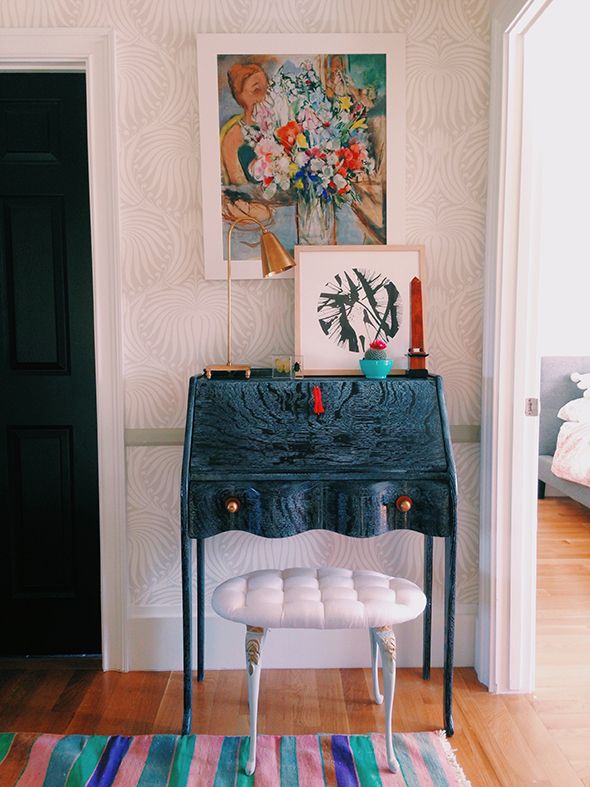
I really love how this project turned out. I think cerusing is such a fun way to show off the natural wood grain of vintage/antique oak pieces!
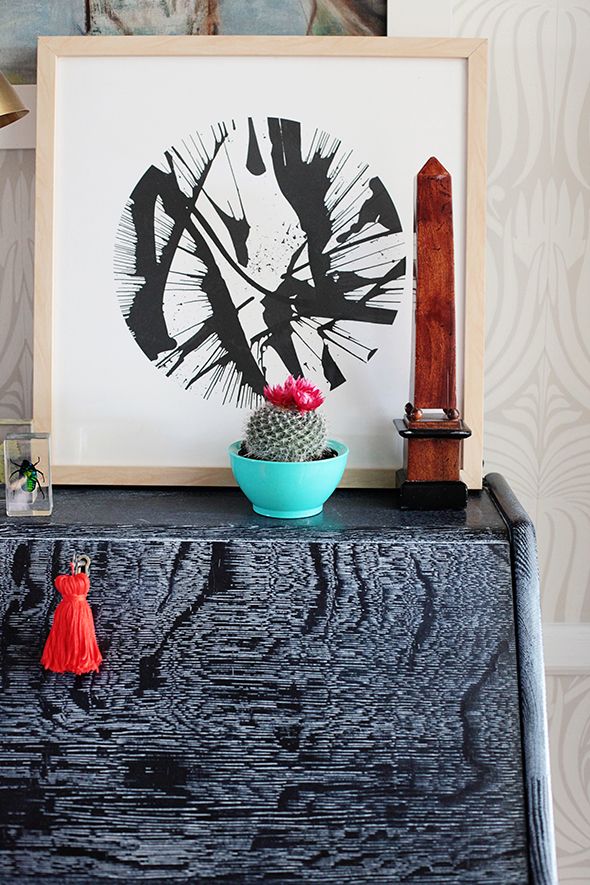
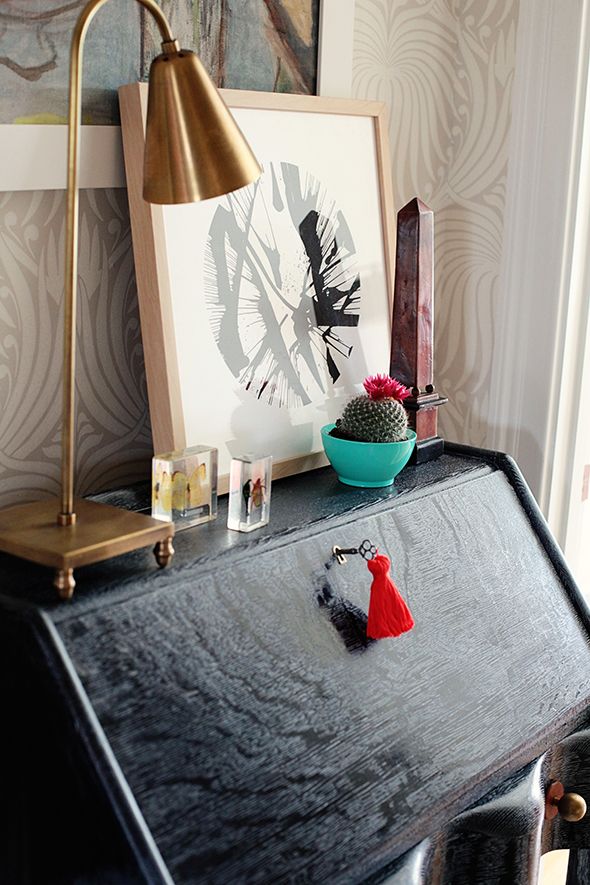
And the indigo stain is such a unique look too. I think color stains are perfect for this type of application. The secretary is such a fun statement piece now, sitting up in our landing by the girls rooms.
Don't forget to check out the spread in the new Domino! xo
My jaw is on the floor. This is a work of art! Wow! How can those of us with less experience with this stuff determine which pieces are oak? This is just incredible. I love it.
ReplyDeleteCan you share where you founds the knobs or do you have any suggestions for good hardware websites? I am struggling!!!
ReplyDeleteThanks in advance!
How fabulous! I've never seen this technique before, it's really unusual. Love the indigo colour!
ReplyDeleteOh, WOW. You have got me typing in all caps all the time lately, Jenny. Really inspiring stuff. xox
ReplyDeleteInsanely clever rehab of that piece, the grain pops and adds such a gorgeous texture to that amazing shape - wonderful job!
ReplyDeleteThis looks amazing! Great job! Now I'm searching for some old oak I have around the house that I can try this out on...
ReplyDeleteJenny, I love it! What a beautiful job. I tried to ceruse my oak counter stools (inspired by the bungalow 5 pieces) and it was a complete disaster. They were made from 2 different kinds of wood and some of the parts were not oak. Like you said, it has to be oak! They didn't take the aniline dye. After an outrageous amount of effort, I gave up & painted them a matte gray. I'm still looking for the right piece to ceruse, though, since I love the look.
ReplyDeleteLove that you can spruce up an old find while still showing off that amazing wood.
ReplyDeleteBeen waiting for you to do this project since you first mentioned it.I love how it turned out especially the indigo touch.Clever girl.
ReplyDeleteThis comment has been removed by the author.
ReplyDeleteThis is beautiful. Good job Jen!
ReplyDeleteseriously awesome makeover! New to me information, and I am eyeing that oak furniture from the thrift store in a whole different way! You rock!
ReplyDeleteSo inspiring as always Jenny x
ReplyDeleteI love that you went dark...so dramatic! Happy cerusing!
ReplyDeleteWOW!!!!!
ReplyDeleteI have to admit that I initially thought, "Oh no, she painted that beautiful tiger oak!" after you first threw out ideas of what to do with that piece, but it really did turn out beautiful without covering up that gorgeous wood grain.
ReplyDeleteKudos!
Beautiful! I have a desk that I've been creatively stuck on and this is the perfect idea for it. Thanks for wonderful inspiration!
ReplyDeleteBeautiful! I have a desk that I've been creatively stuck on and this is the perfect idea for it. Thanks for wonderful inspiration!
ReplyDeleteThis is so cool. I love how the indigo took on a black tone. What kind of stripper did you use? I tried some kind of citrus stripper and it did not work well. I ended up sanding the old finish off.
ReplyDeleteThis is amazing! Each step is beautiful in its own way. Will have to keep an eye out for a piece to try this with!
ReplyDeleteThis is so beautiful! I once considered doing this technique to my oak kitchen cabinets, but I chickened out!! Looks fantastic, great job!
ReplyDeleteBeautiful desk -just beautiful... The black and white piece of art -I looooove it! Any info you can share..? thanks, emily jane
ReplyDeleteWow, Jenny- that's amazing! Thanks for doing all the homework and explaining it so clearly! This is exactly why you've been my favorite for the last 8 years!
ReplyDeleteBy the way, have we seen that wallpaper? It's beautiful!
ReplyDeleteThat is SO cool! You are the queen of awesome diy projects!
ReplyDeleteBeautiful Jenny! I am going to try this on my kitchen table. Can you share your favorite brand of gel stripper? Thanks so much!
ReplyDeleteLooks amazing!
ReplyDeleteExquisite! Was there a sealing wax put on after the liming wax?
ReplyDeleteWould it be possible to do this to a kitchen table / make this food safe (I have toddlers who sometimes eat directly off our table). Any thoughts are appreciated! Thank you!
ReplyDeleteWow! Really beautiful effect.
ReplyDeleteThat looks fabulous! Thanks for sharing all the steps. I think I could actually do this!
ReplyDeleteYour posts are always so fun and inspirational!
xo,
Ivy
Wow! You have me looking at oak in a new way. That piece is stunning!
ReplyDeleteI had never heard of cerusing before, but it looks awesome. You are so talented! Someone mentioned doing it to kitchen cabinets, and I think that would be really cool, too.
ReplyDeleteOH MY G*D. I want to do this!
ReplyDeleteI've been trying to figure out how to lime my hideous oak bathroom cabs.... but I never thought of adding an awesome color to actual oak furniture!
The hunt is on... and thank you for starting a new trend! lol.
You are so creatively awesome, Jenny!
Looks great! I just picked up a vintage oak warehouse desk but it is very yellowed and has a layer of thick varnish. I have been thinking of stripping down. Could you tell me what gel stripper you used please? TIA!
ReplyDeleteLooks great! I just picked up a vintage oak warehouse desk but it is very yellowed and has a layer of thick varnish. I have been thinking of stripping down. Could you tell me what gel stripper you used please? TIA!
ReplyDeleteLooks great! I just picked up a vintage oak warehouse desk but it is very yellowed and has a layer of thick varnish. I have been thinking of stripping down. Could you tell me what gel stripper you used please? TIA!
ReplyDeleteThis is SO BEAUTIFUL but NO ONE should be using aniline dye anymore!!!! It's so bad for you!!! I hope you were wearing a respirator. I work painting theatrical drops, which used to be done exclusively in aniline dye (though I've luckily never had to work with it). They make alternatives now that while you still have to be VERY careful to not to have skin contact, and wear a respirator with appropriate cartridges (and goggles to protect your eyes) while mixing, but once the powder is mixed with water you don't need to be wearing a mask. With aniline you should be wearing a mask throughout...it's considered more dangerous than stain and oil-based products.
ReplyDelete